Anyone can create great baby photos at home, rather than having to splurge on expensive professional photo shoots in those early days. It only takes a few simple steps to set up and you can start snapping away in no time, hopefully creating baby photos at home that you love.
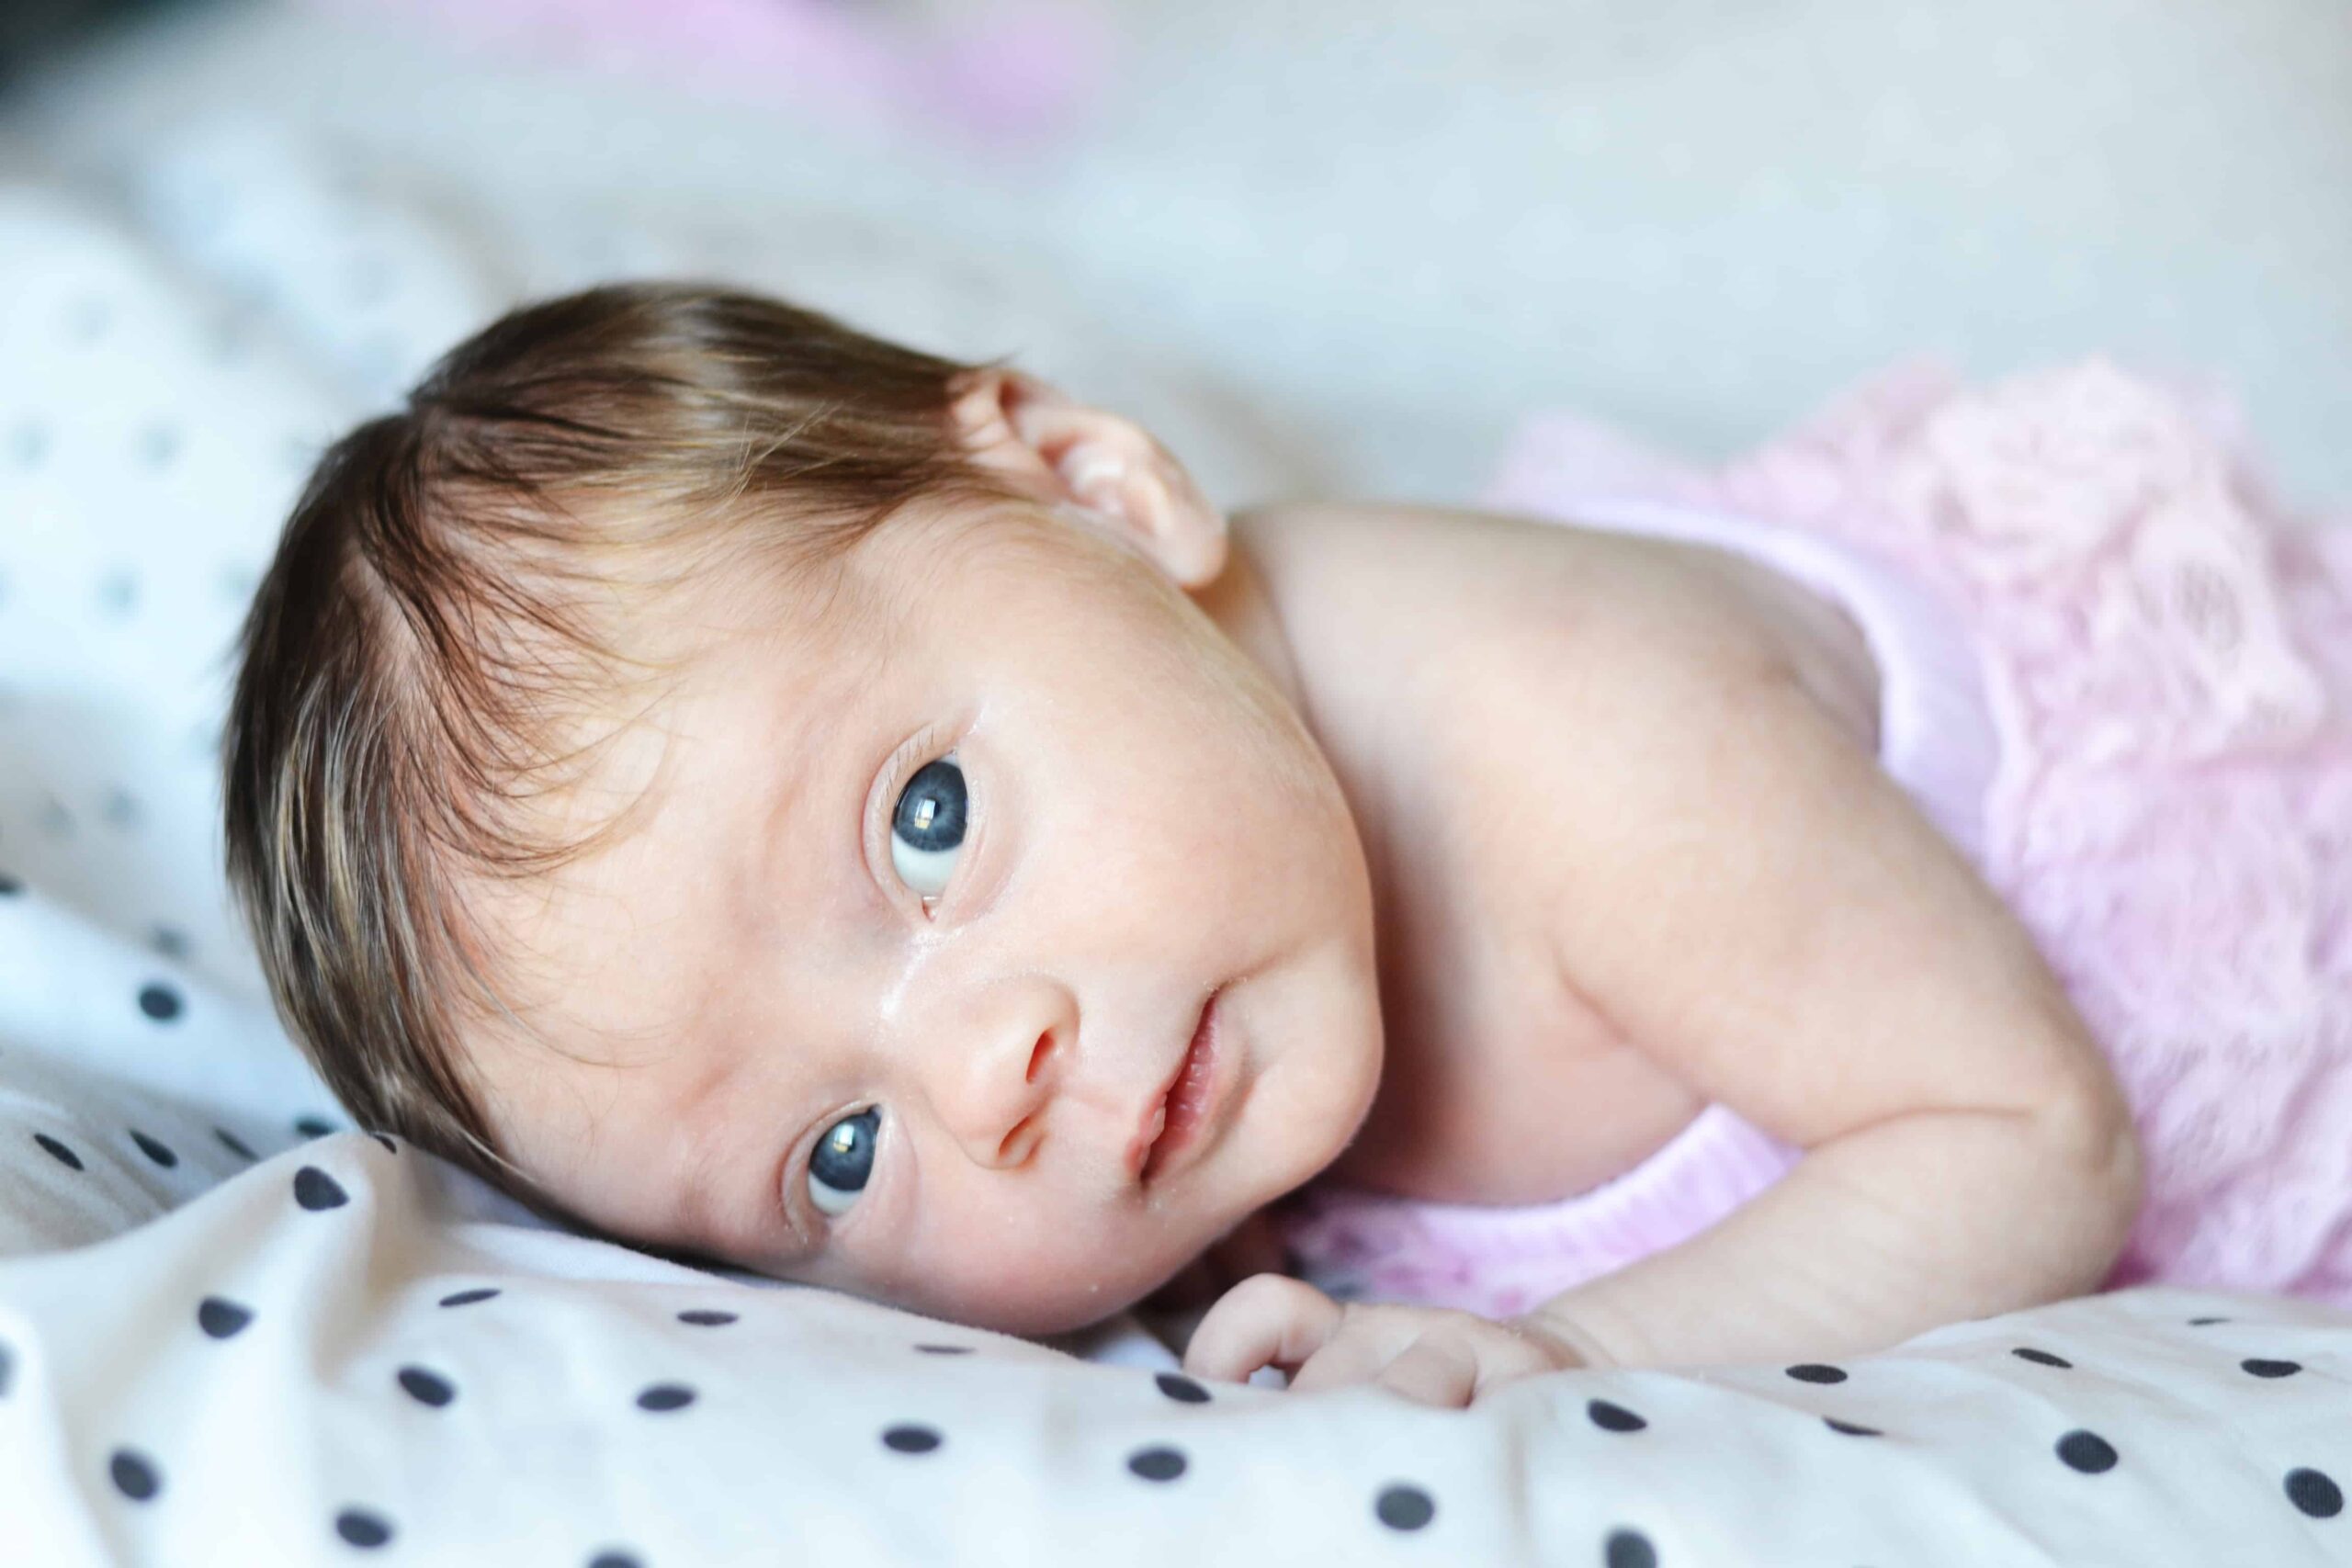
In our family, I am usually the one behind the camera, snapping away and capturing the moments. And as much as I love photography, I am in no way a great photographer. Sure I manage some great shots at times and impress even myself, but there is one area of photography that I seem to do well, when I take the time to set up properly.
When my first daughter Lily was born, we paid for a photo shoot when she was around a month old, as well as another family photo shoot when she was a few months old. I wasn't overly happy with either. For the newborn shoot, the biggest issue was the black backdrop, which to me doesn't really suit a baby photo shoot.
Upon launching my own handmade headband and kids clothing business a few months after Lily arrived, I had to learn really quick how to take good product shots. They weren't all great but I was making progress, with some simple backdrop techniques and staging my products.
But this sort of product sells better with a model, and so began my baby photos at home. Some of my favourite photos of Lily have been in the attempt to take product photos, and from there I just got into the habit of taking regular baby photos at home every few months and for special events.
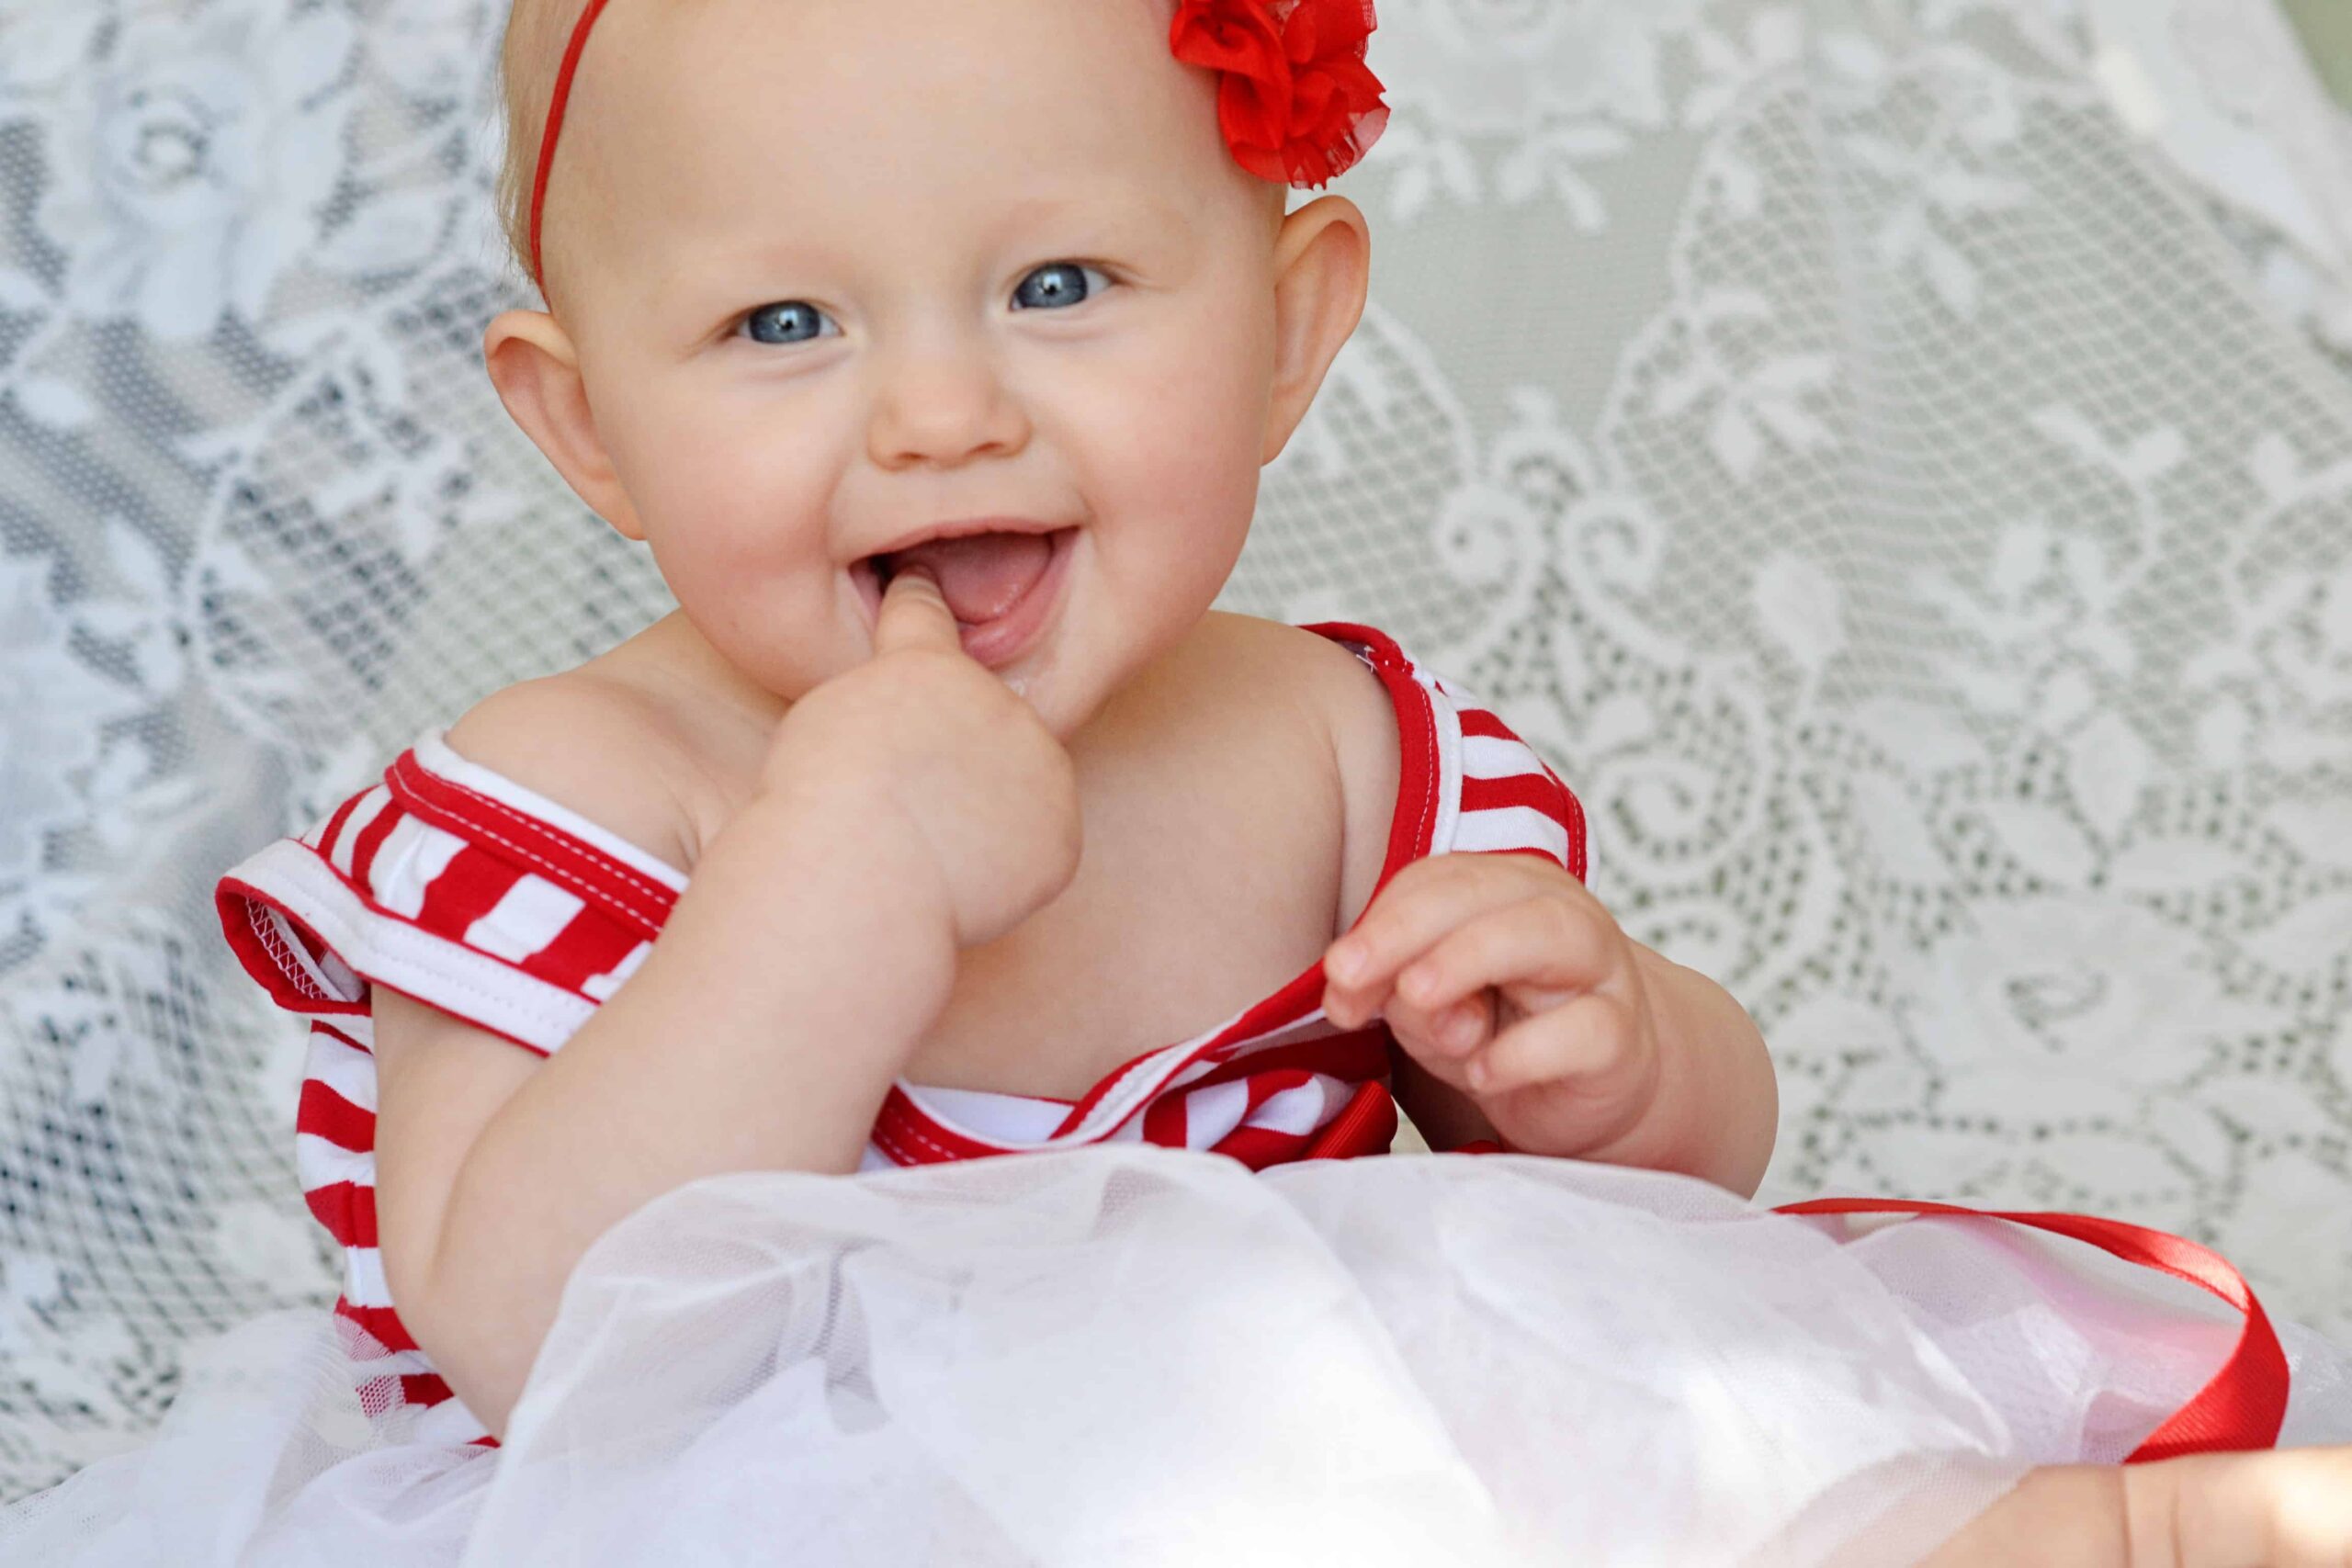
TIPS FOR TAKING YOUR OWN BABY PHOTOS AT HOME
With the arrival of our new daughter, the camera has been busy and there have been a few sessions of baby photos at home and sibling sessions too. So I thought I would share some of my tips.
Utilise the Space You Have
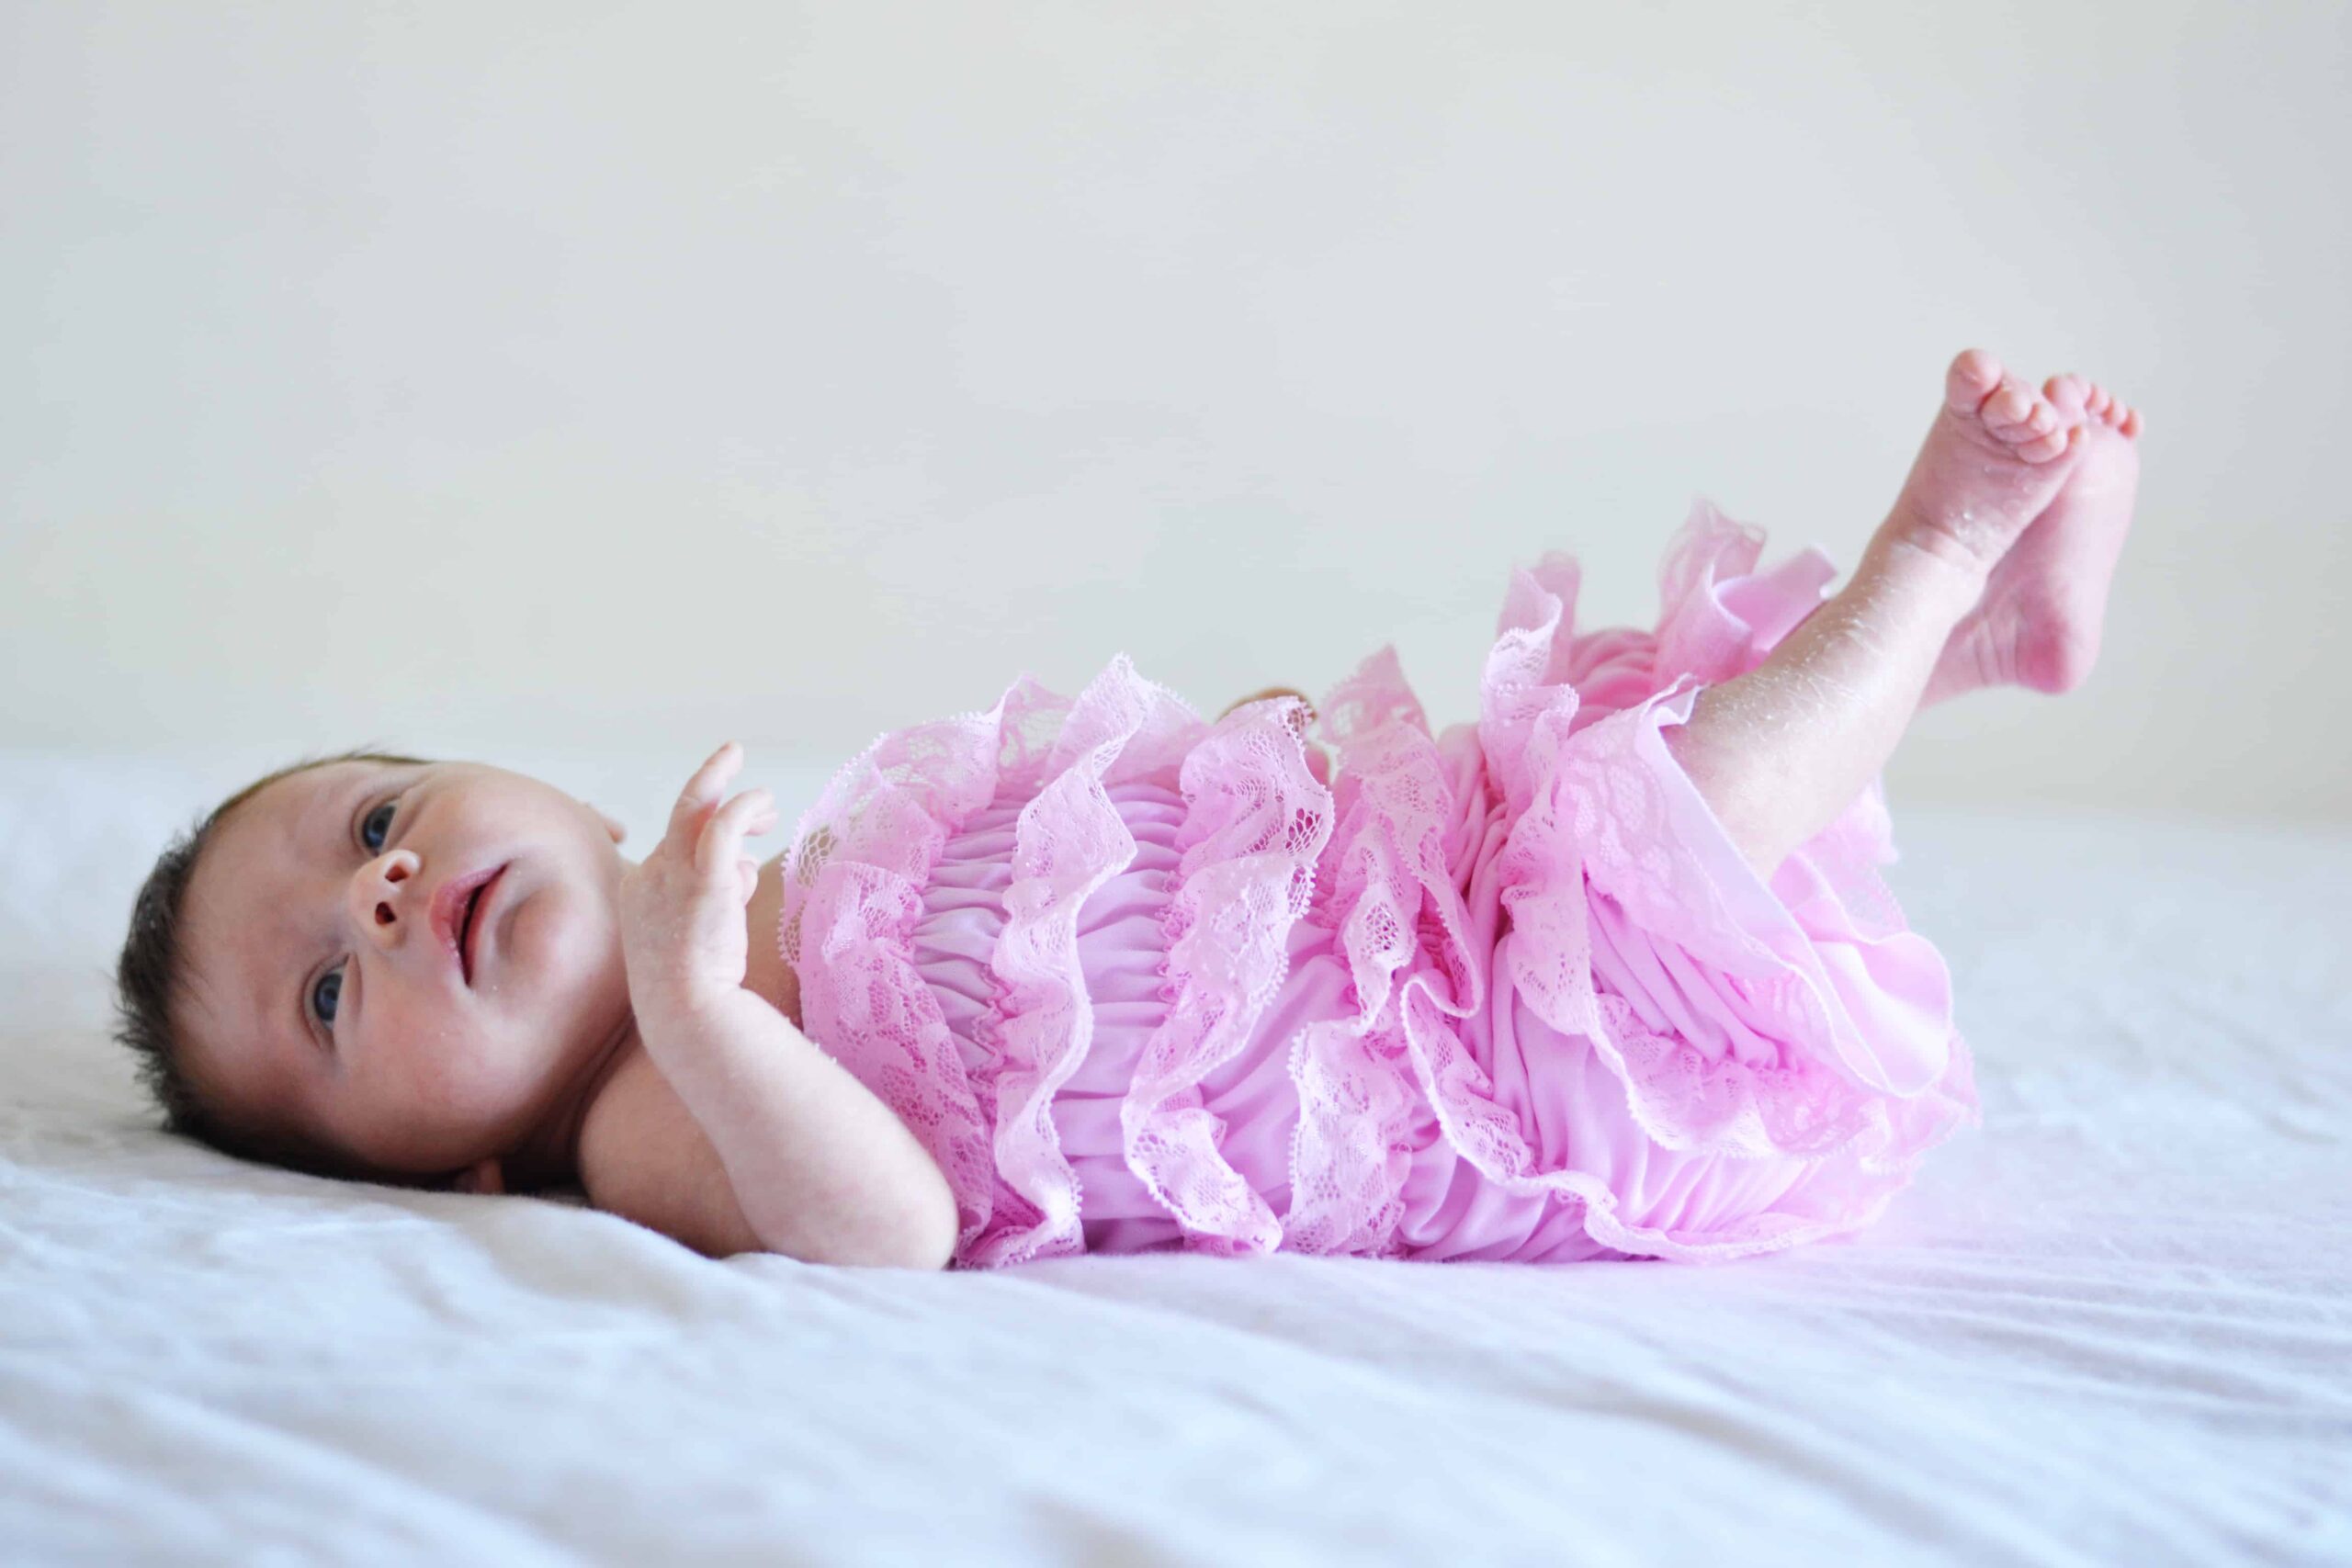
Most of us don't have photo studio set ups at home so we have to work with what we have. Utilise a lounge room or a bedroom if that's what you have. My most recent photos have been created using our king size bed with a white sheet on, with pillows built up behind to create an overall white space.
Aim for Natural Light
Having an area with natural soft light spilling in, rather than artificial light or extreme direct sunlight will be your best tool. You will be amazed what a difference it makes having natural light when shooting baby photos at home.
Clear the Clutter
Make sure you remove any distracting items from your background before you start. This is one of my worst habits when snapping candidly, but it makes a huge difference when taking baby photos at home.
Create a Backdrop
For me this has mostly been a couch with tablecloths draped over it and onto the floor. It creates a distraction free background for the photographs and can be changed to suit the colours and theme you want for your photos. Neutral backdrops are perfect.
Happy Baby
Aim to do your baby photography when your baby is in a good mood. Just after a feed or a sleep is best, so they are neither tired or hungry. If they fall asleep during your shoot, that works too. Although I've never been this lucky. For older babies, it can also help to have someone else in the background to get their attention and make them smile because they often become distracted by the big chunky camera pointing at them.
Editing
No matter how great your baby photos at home turn out, chances are they will be even better with a few slight edits on a photo editing software. Personally I use PhotoShop Elements, but there are plenty of other tools available such as Lightroom or free software like Pic Monkey. The main edits I do are to brighten and add a soft light look like you see in professional baby photography.
Baby Photo Ideas
Below are some baby photo ideas from my own baby photos at home sessions with my two daughters.
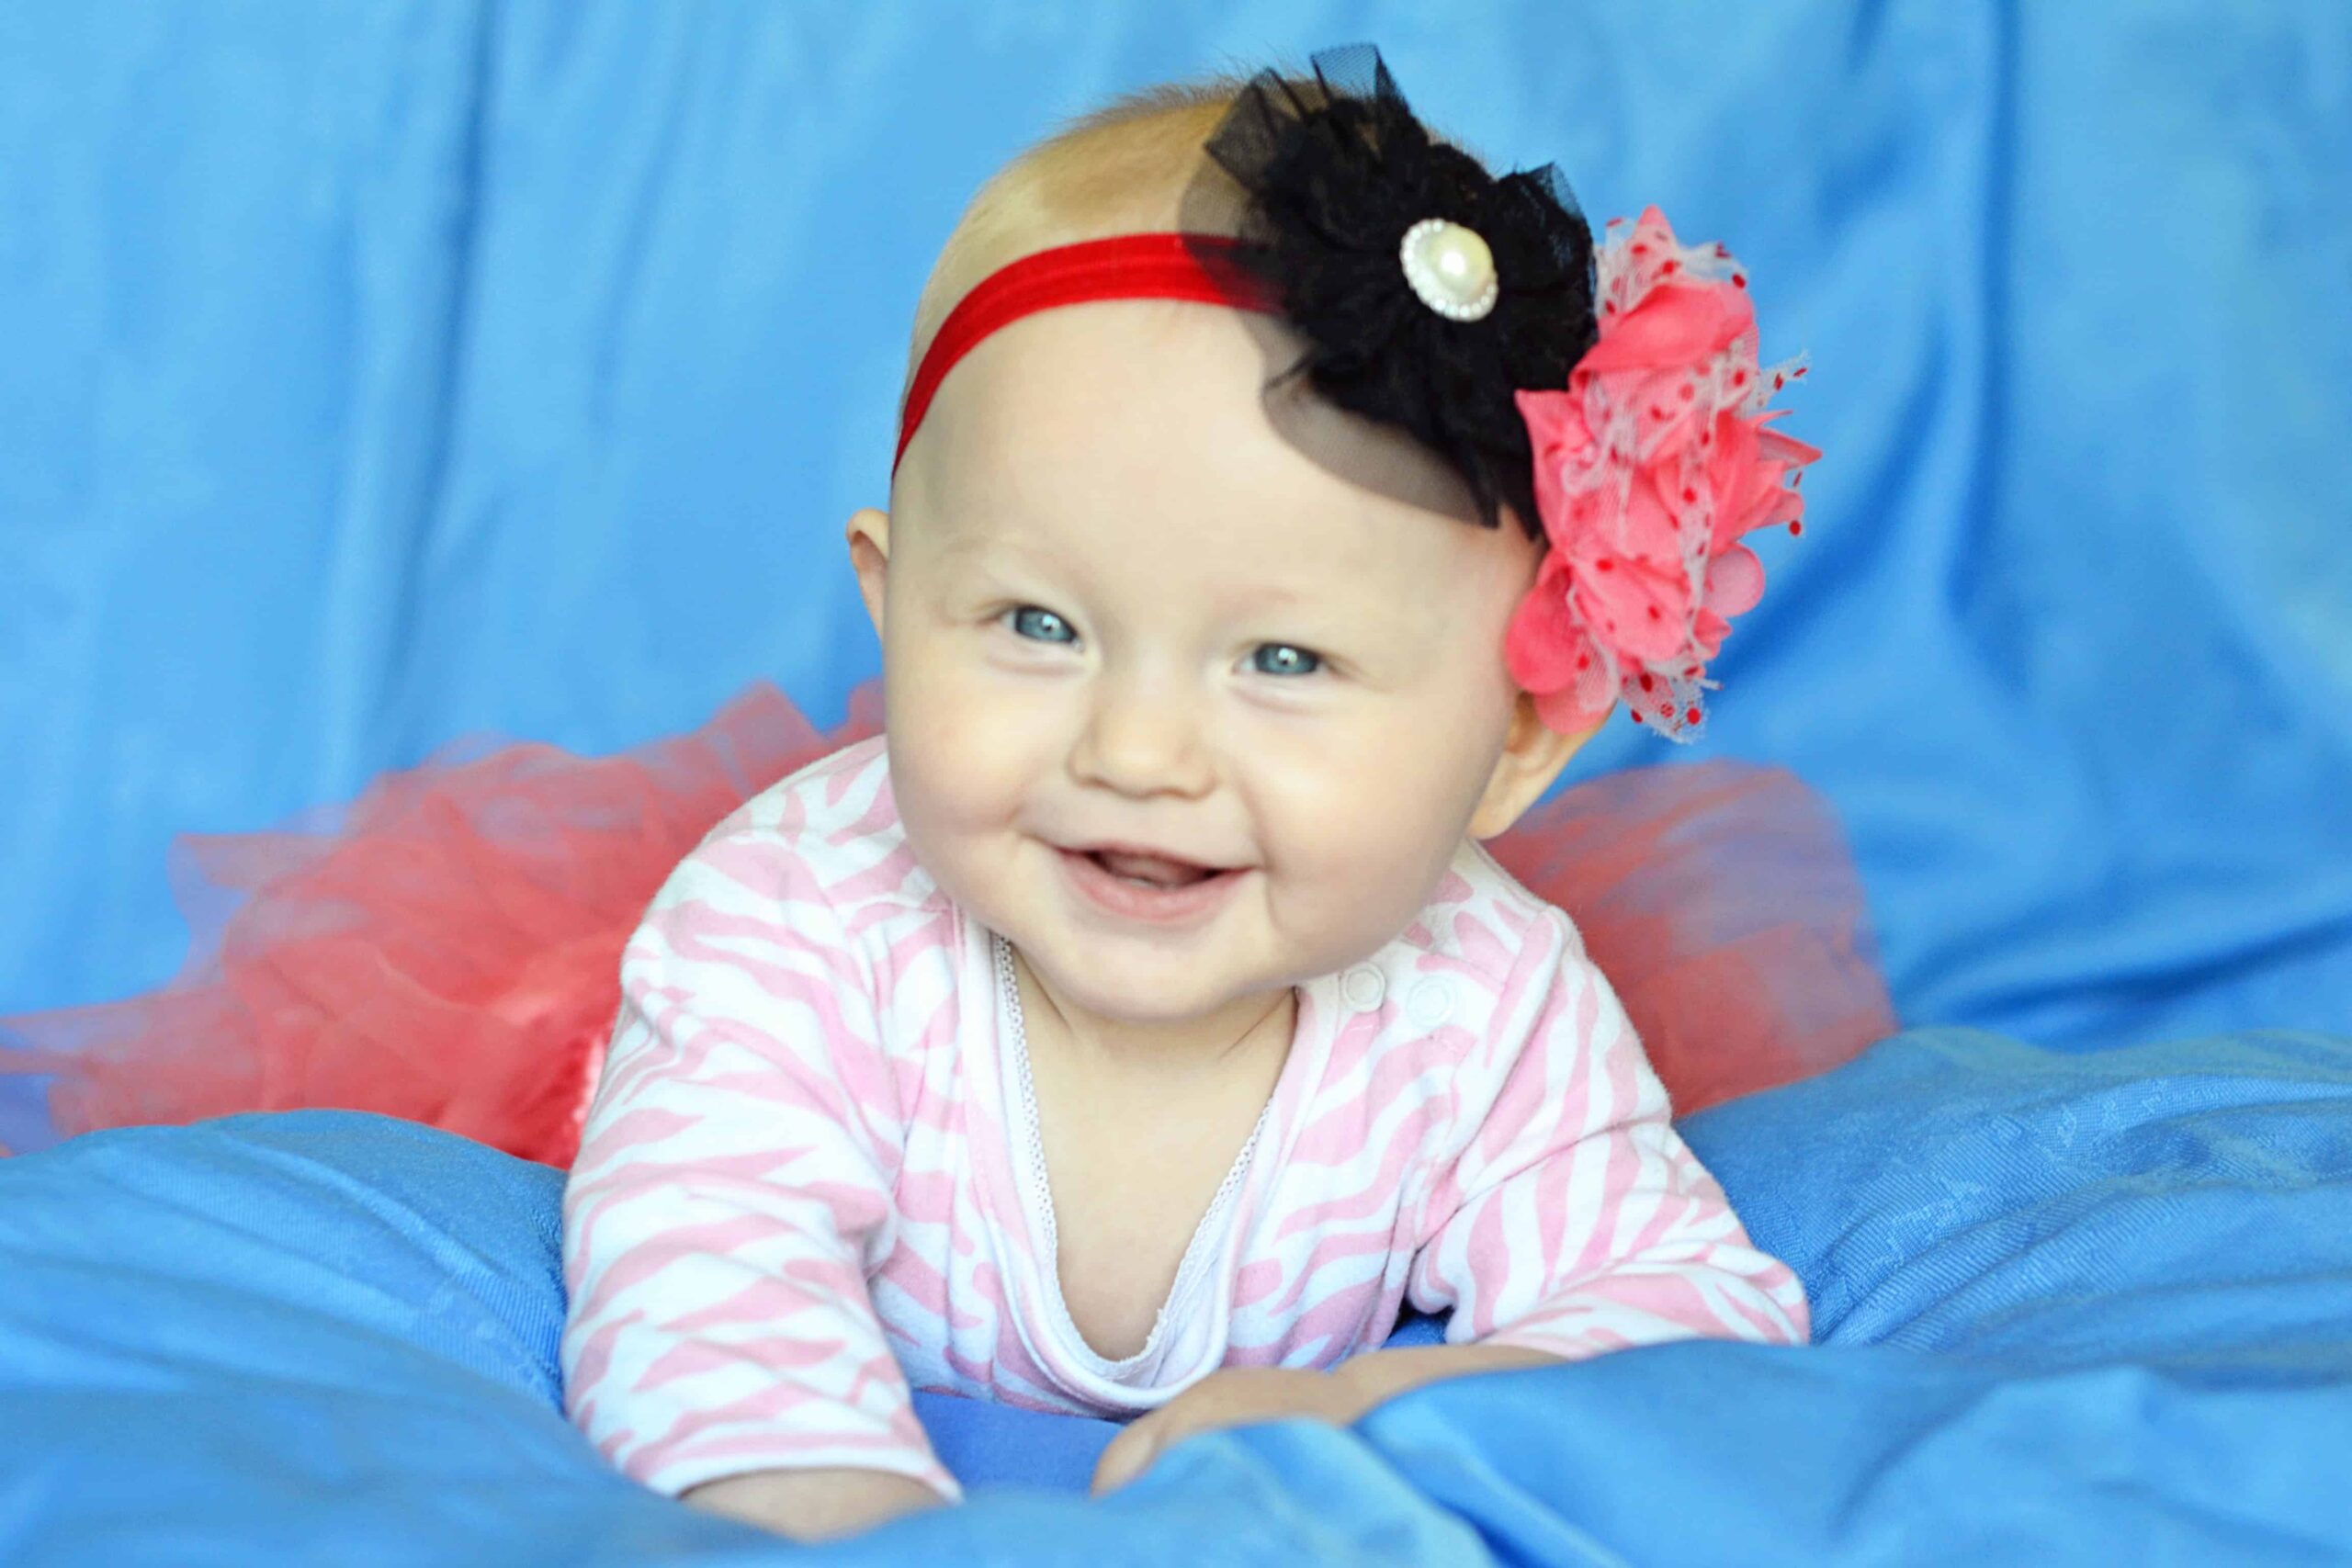
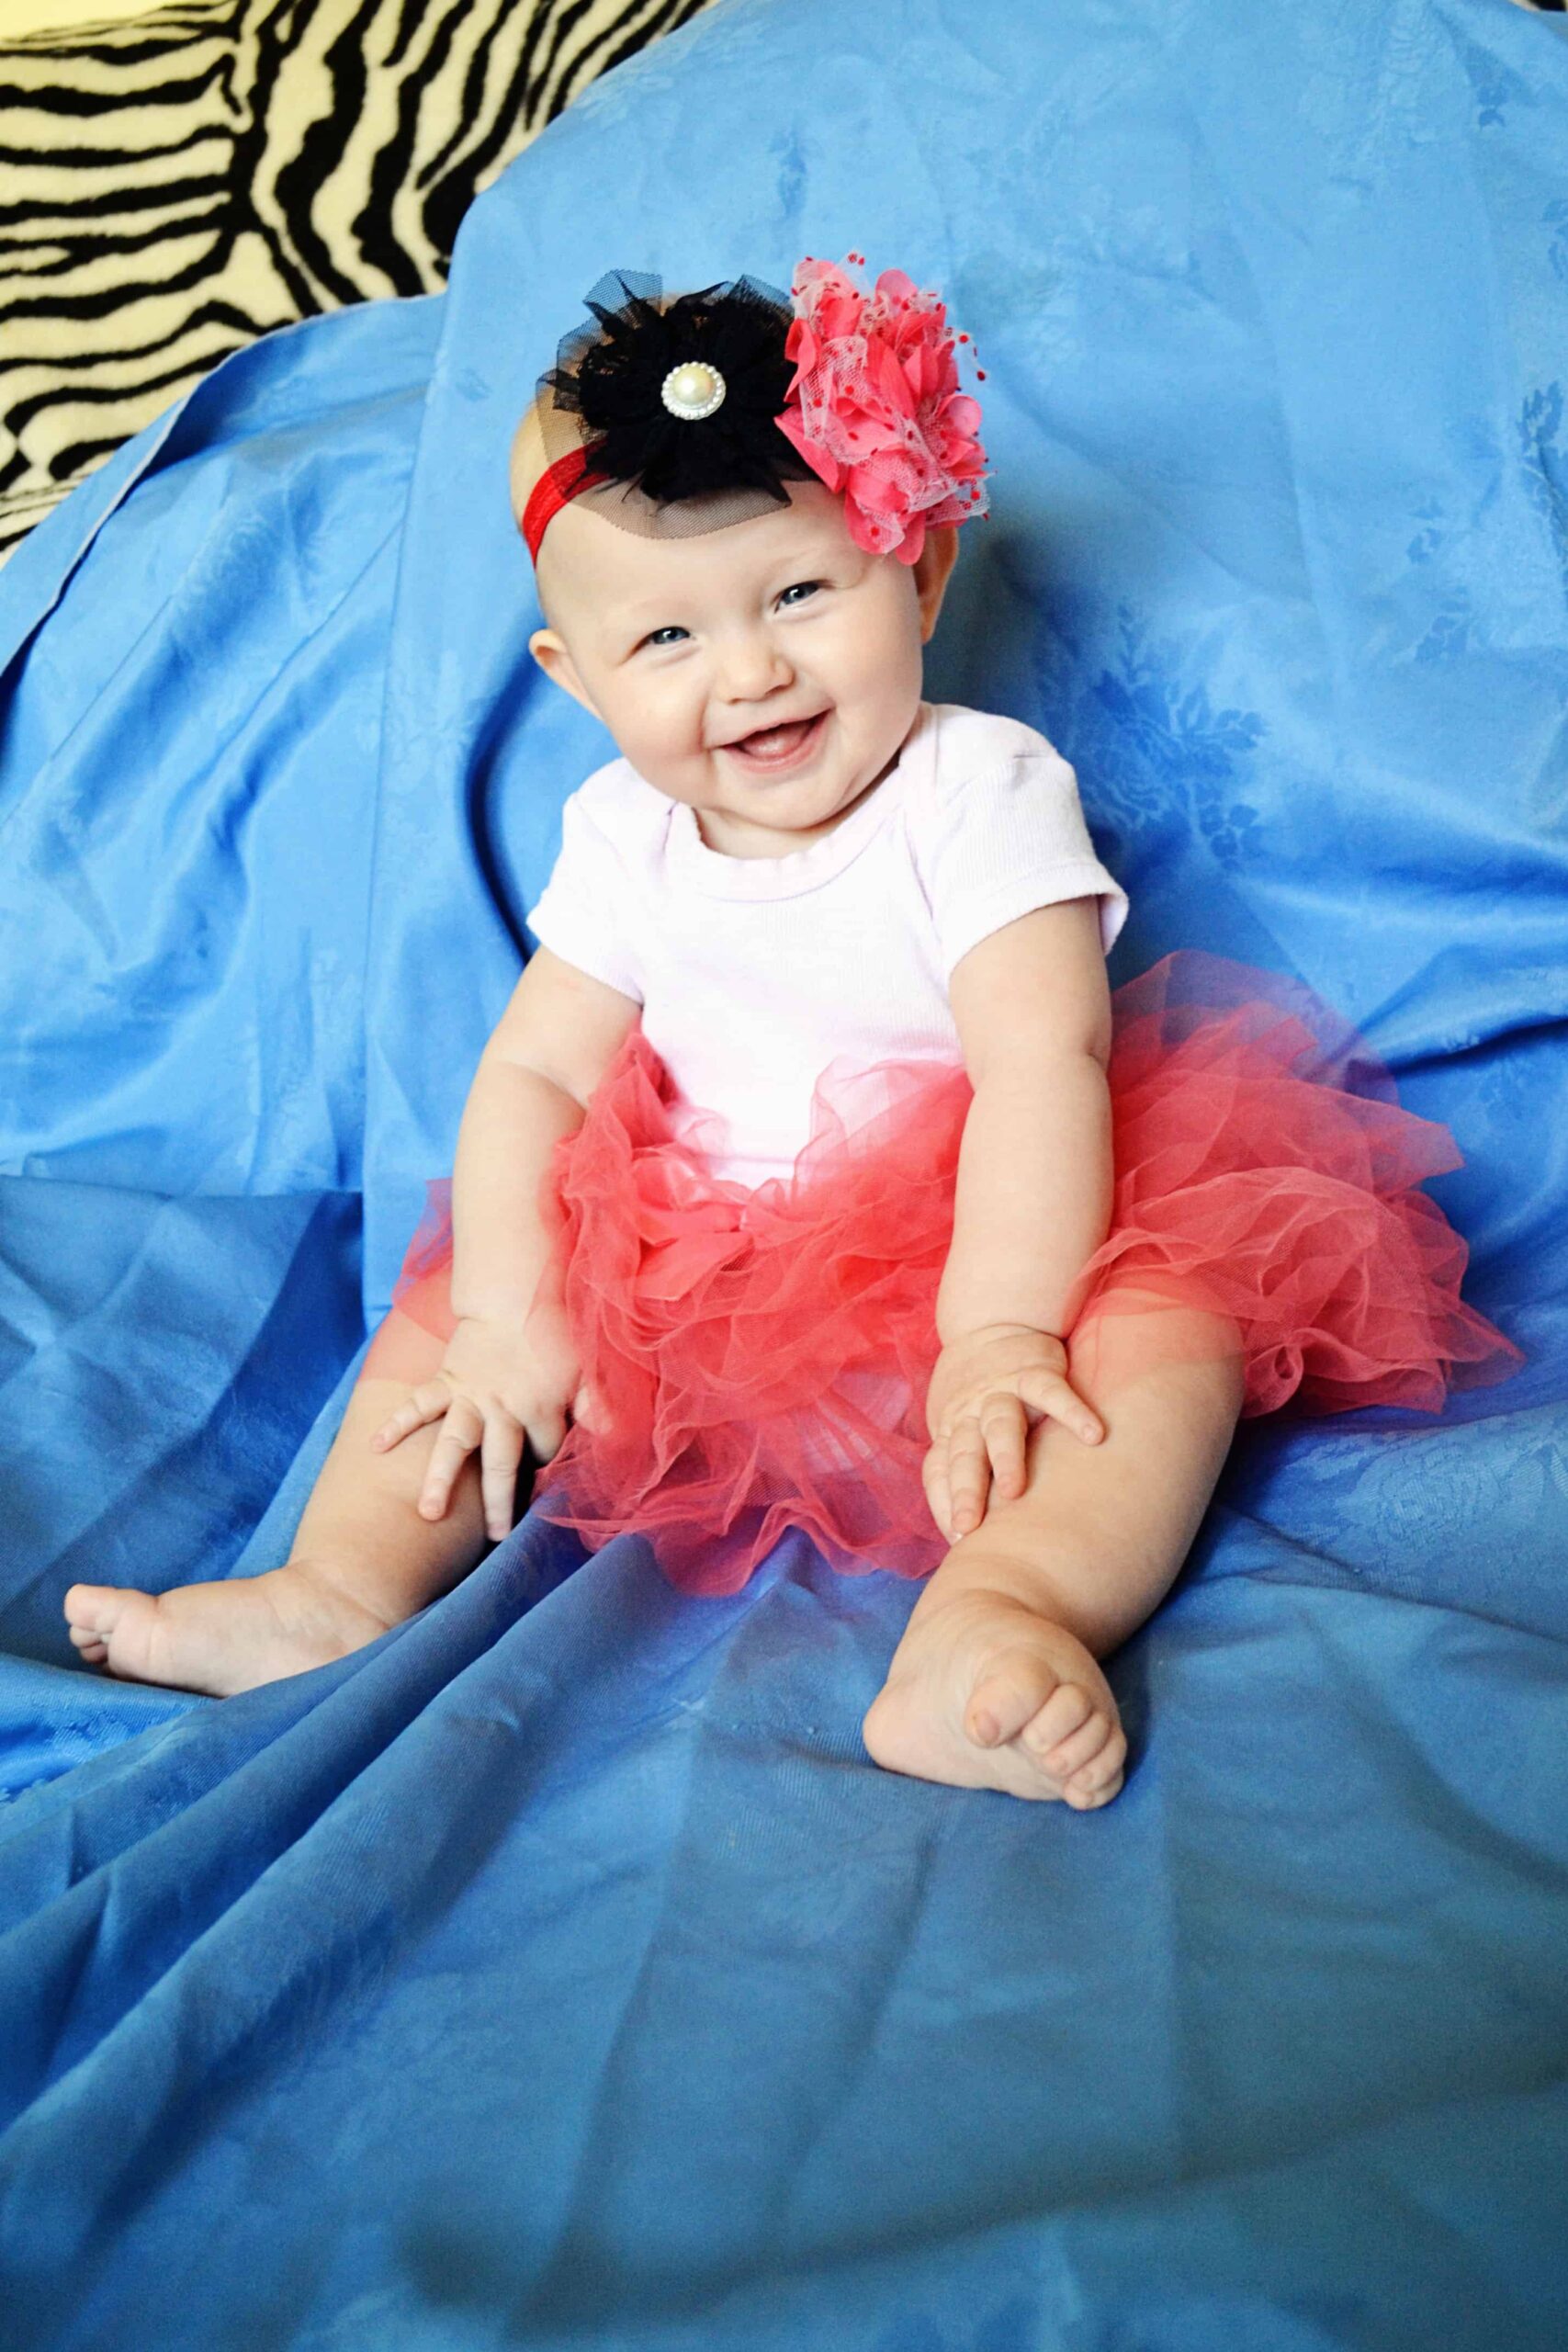
One of my first successful baby photos at home - just a blue sheet layered over our futon sofa with pillows beneath my daughter for comfort. This became the image for my home made hair accessory business.
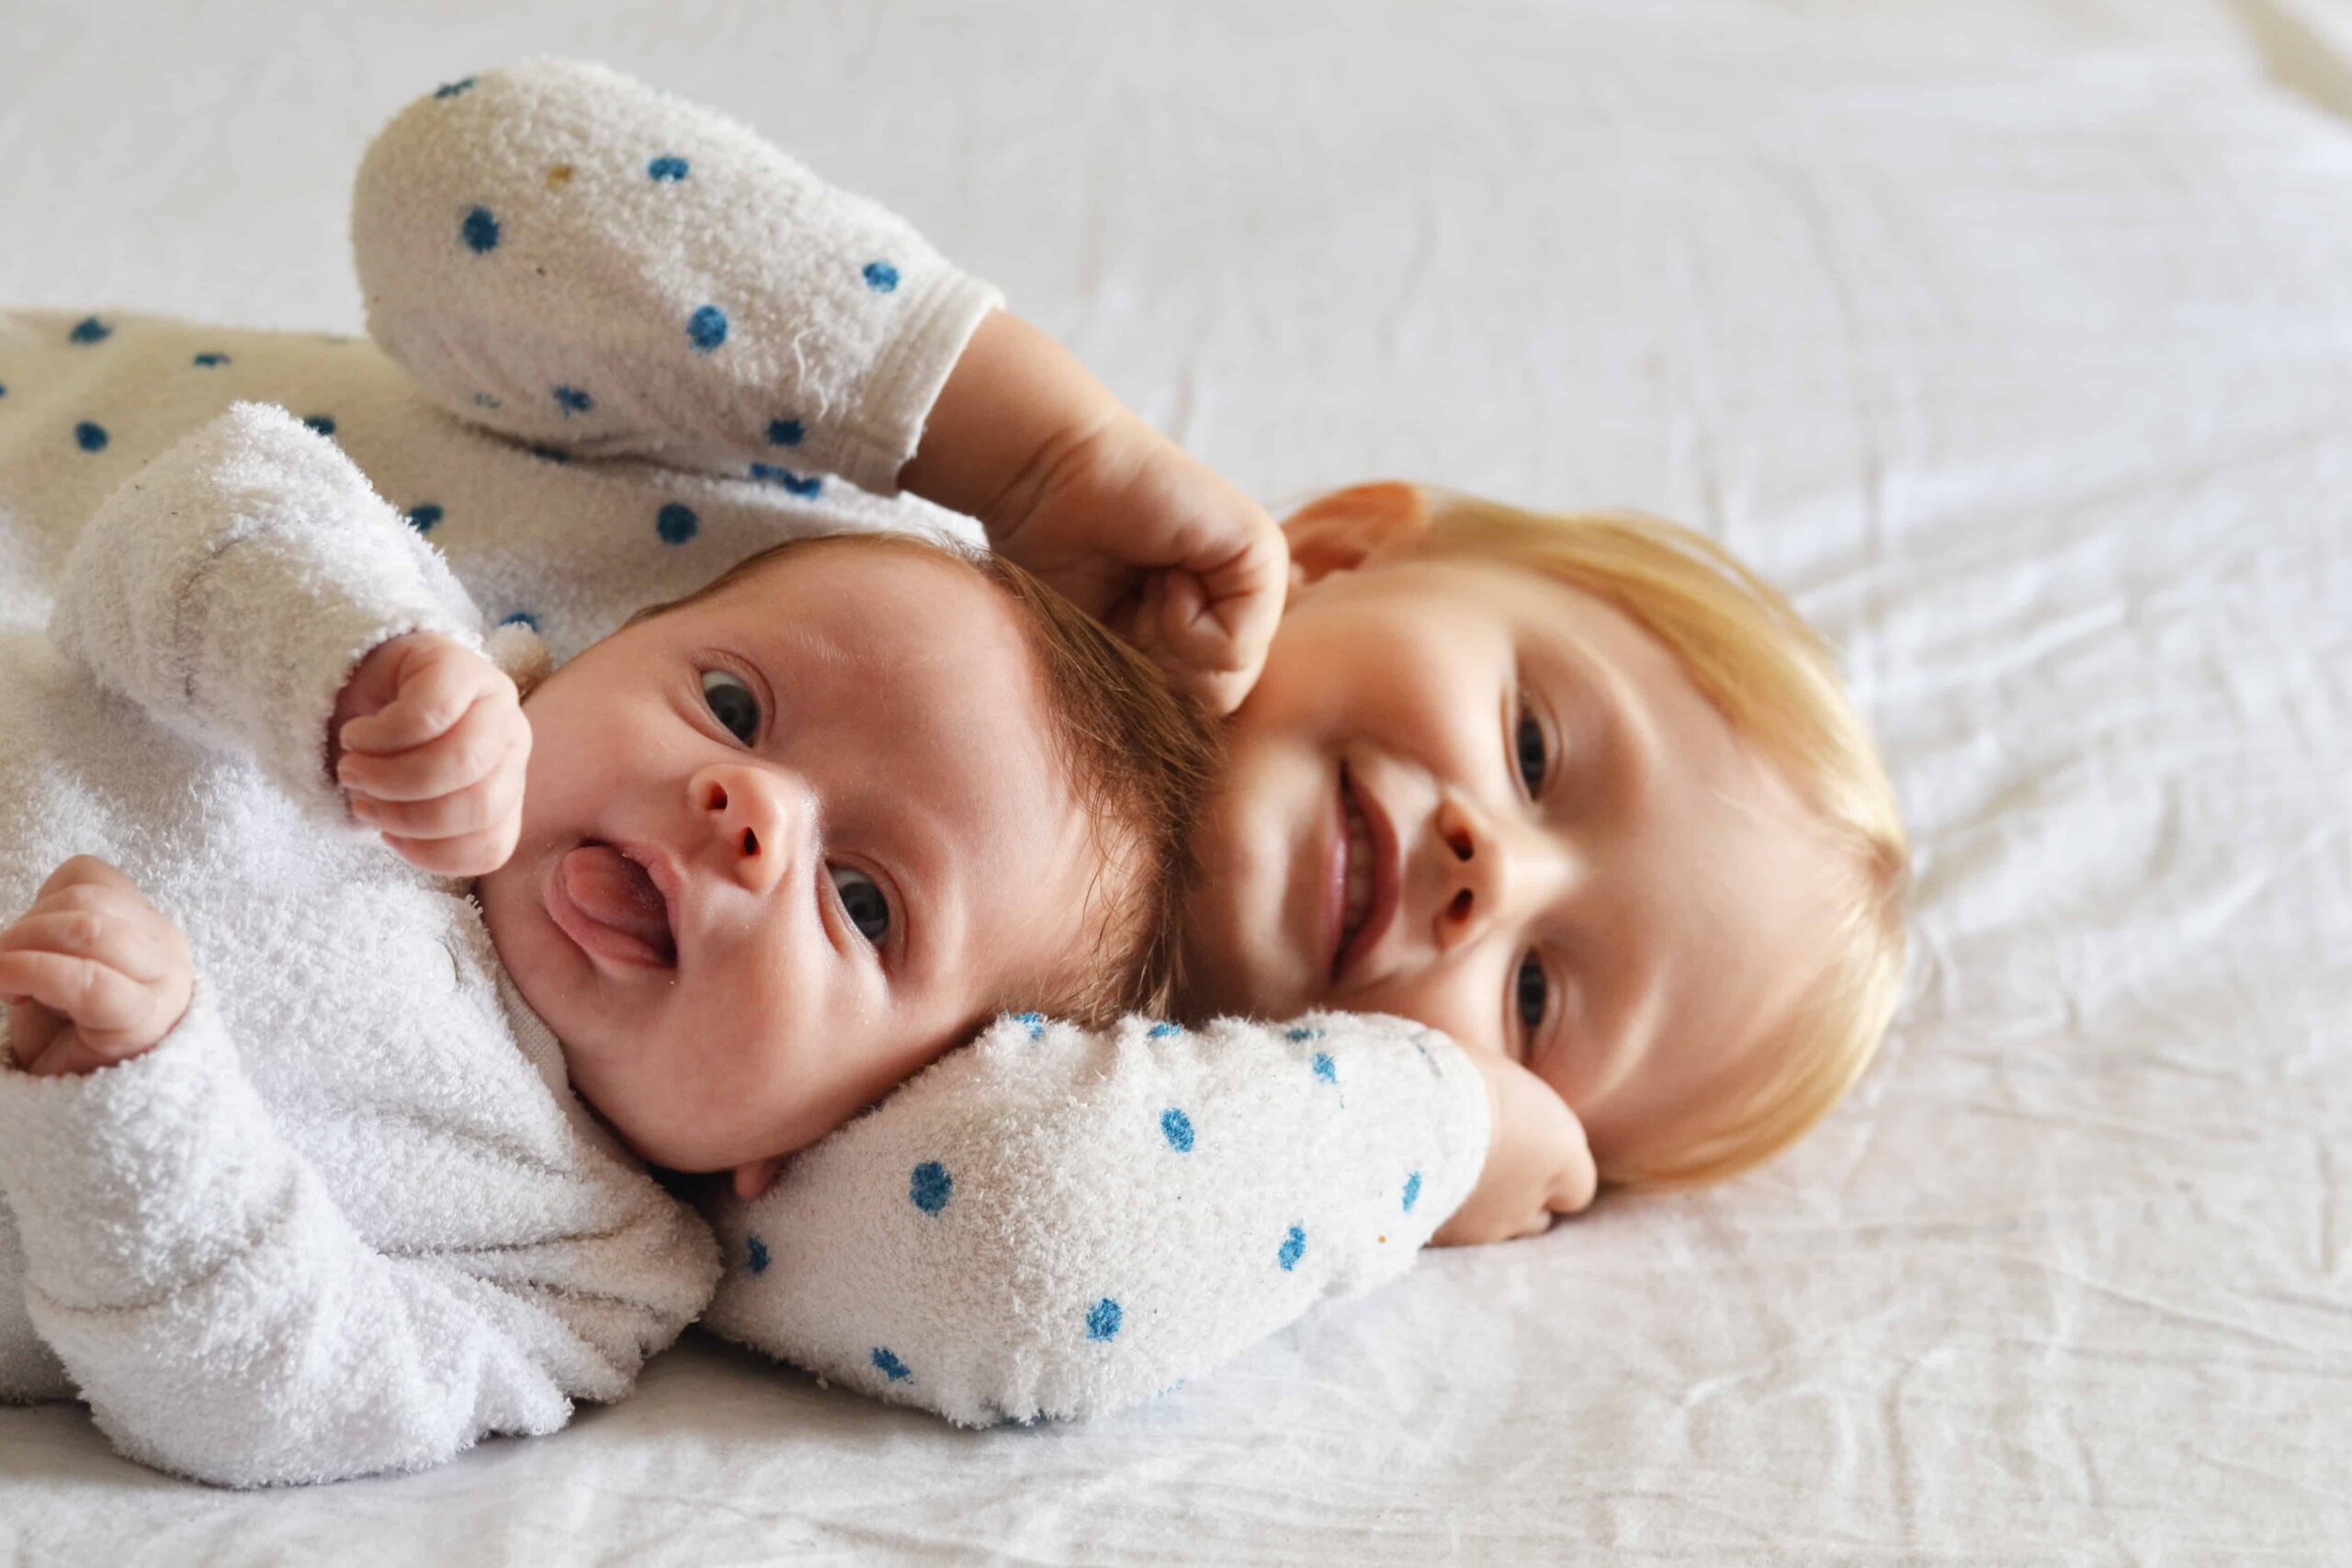
More recent - my two girls on our bed in a quick at home photo shoot in their pyjamas. This one makes me laugh just because of the face Violet is pulling.
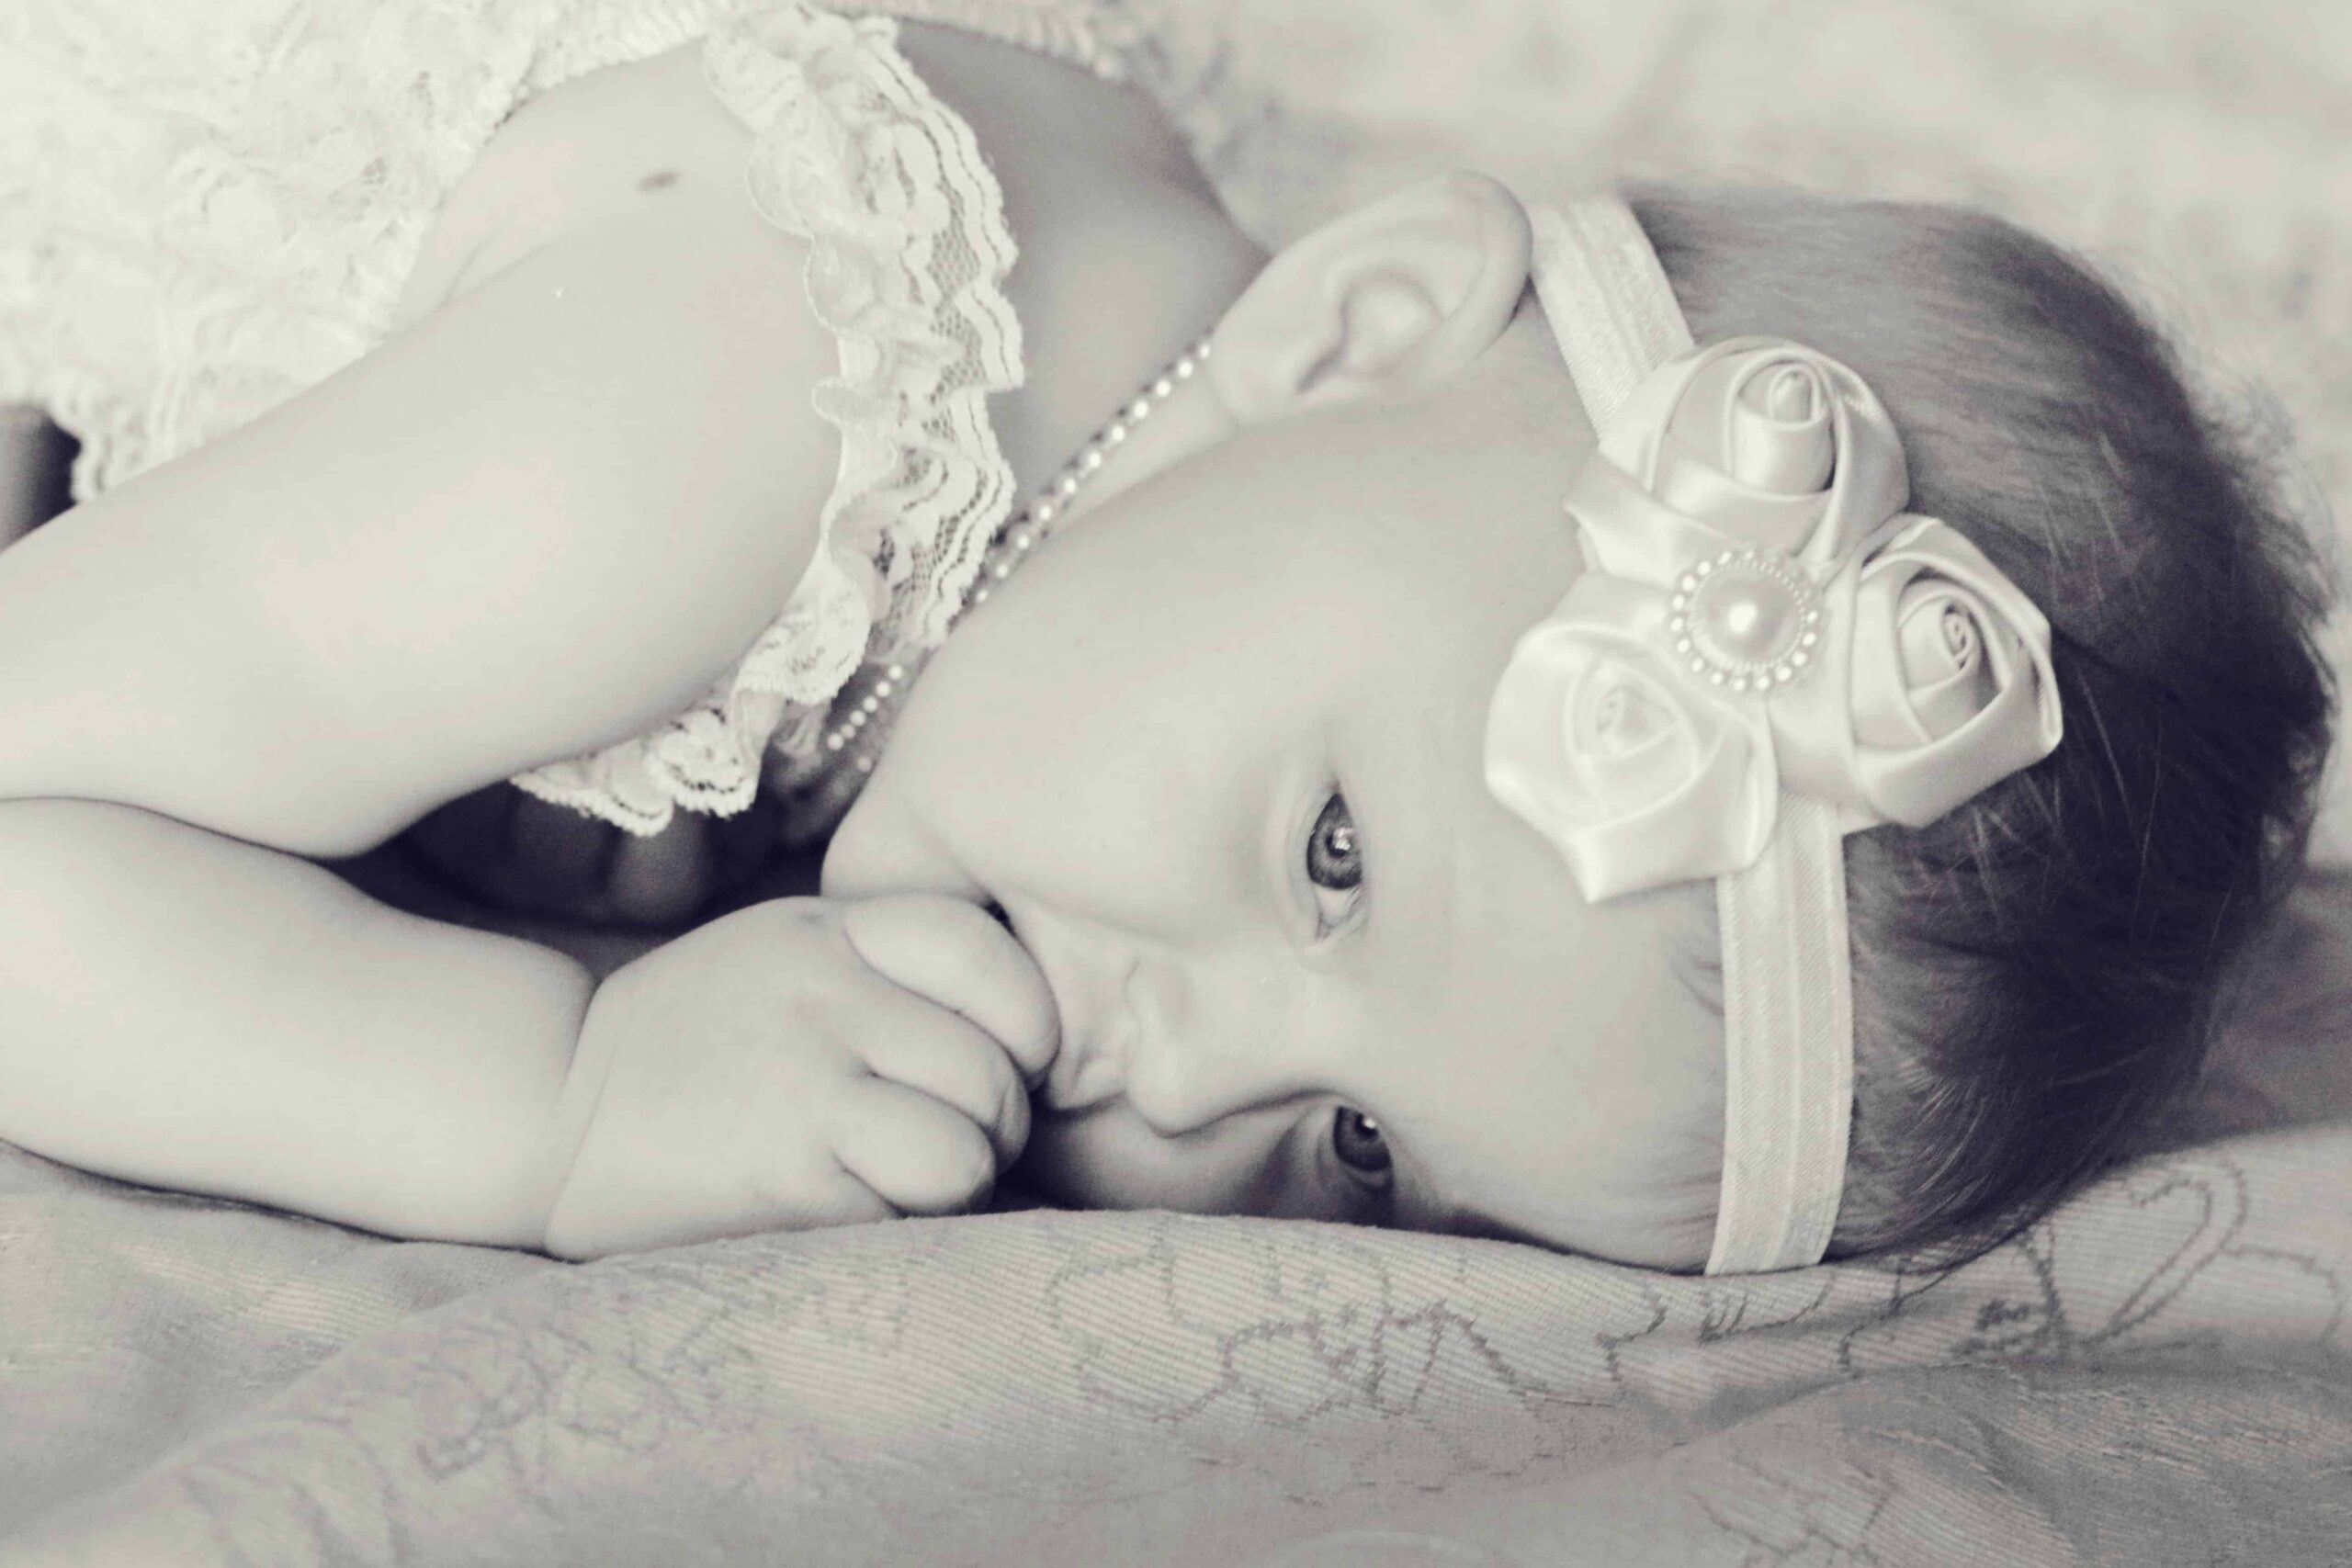
These two are amongst my favourites of Violet so far - in fact we are using the top one in the frame that will have her feet and hand sculptures in it. We used a professional photo with Lily's and I don't like the photo.
Don't be afraid to experiment with black and white if your image isn't the best lighting or just for something different. This was from a photoshoot I did when Lily was turning one.
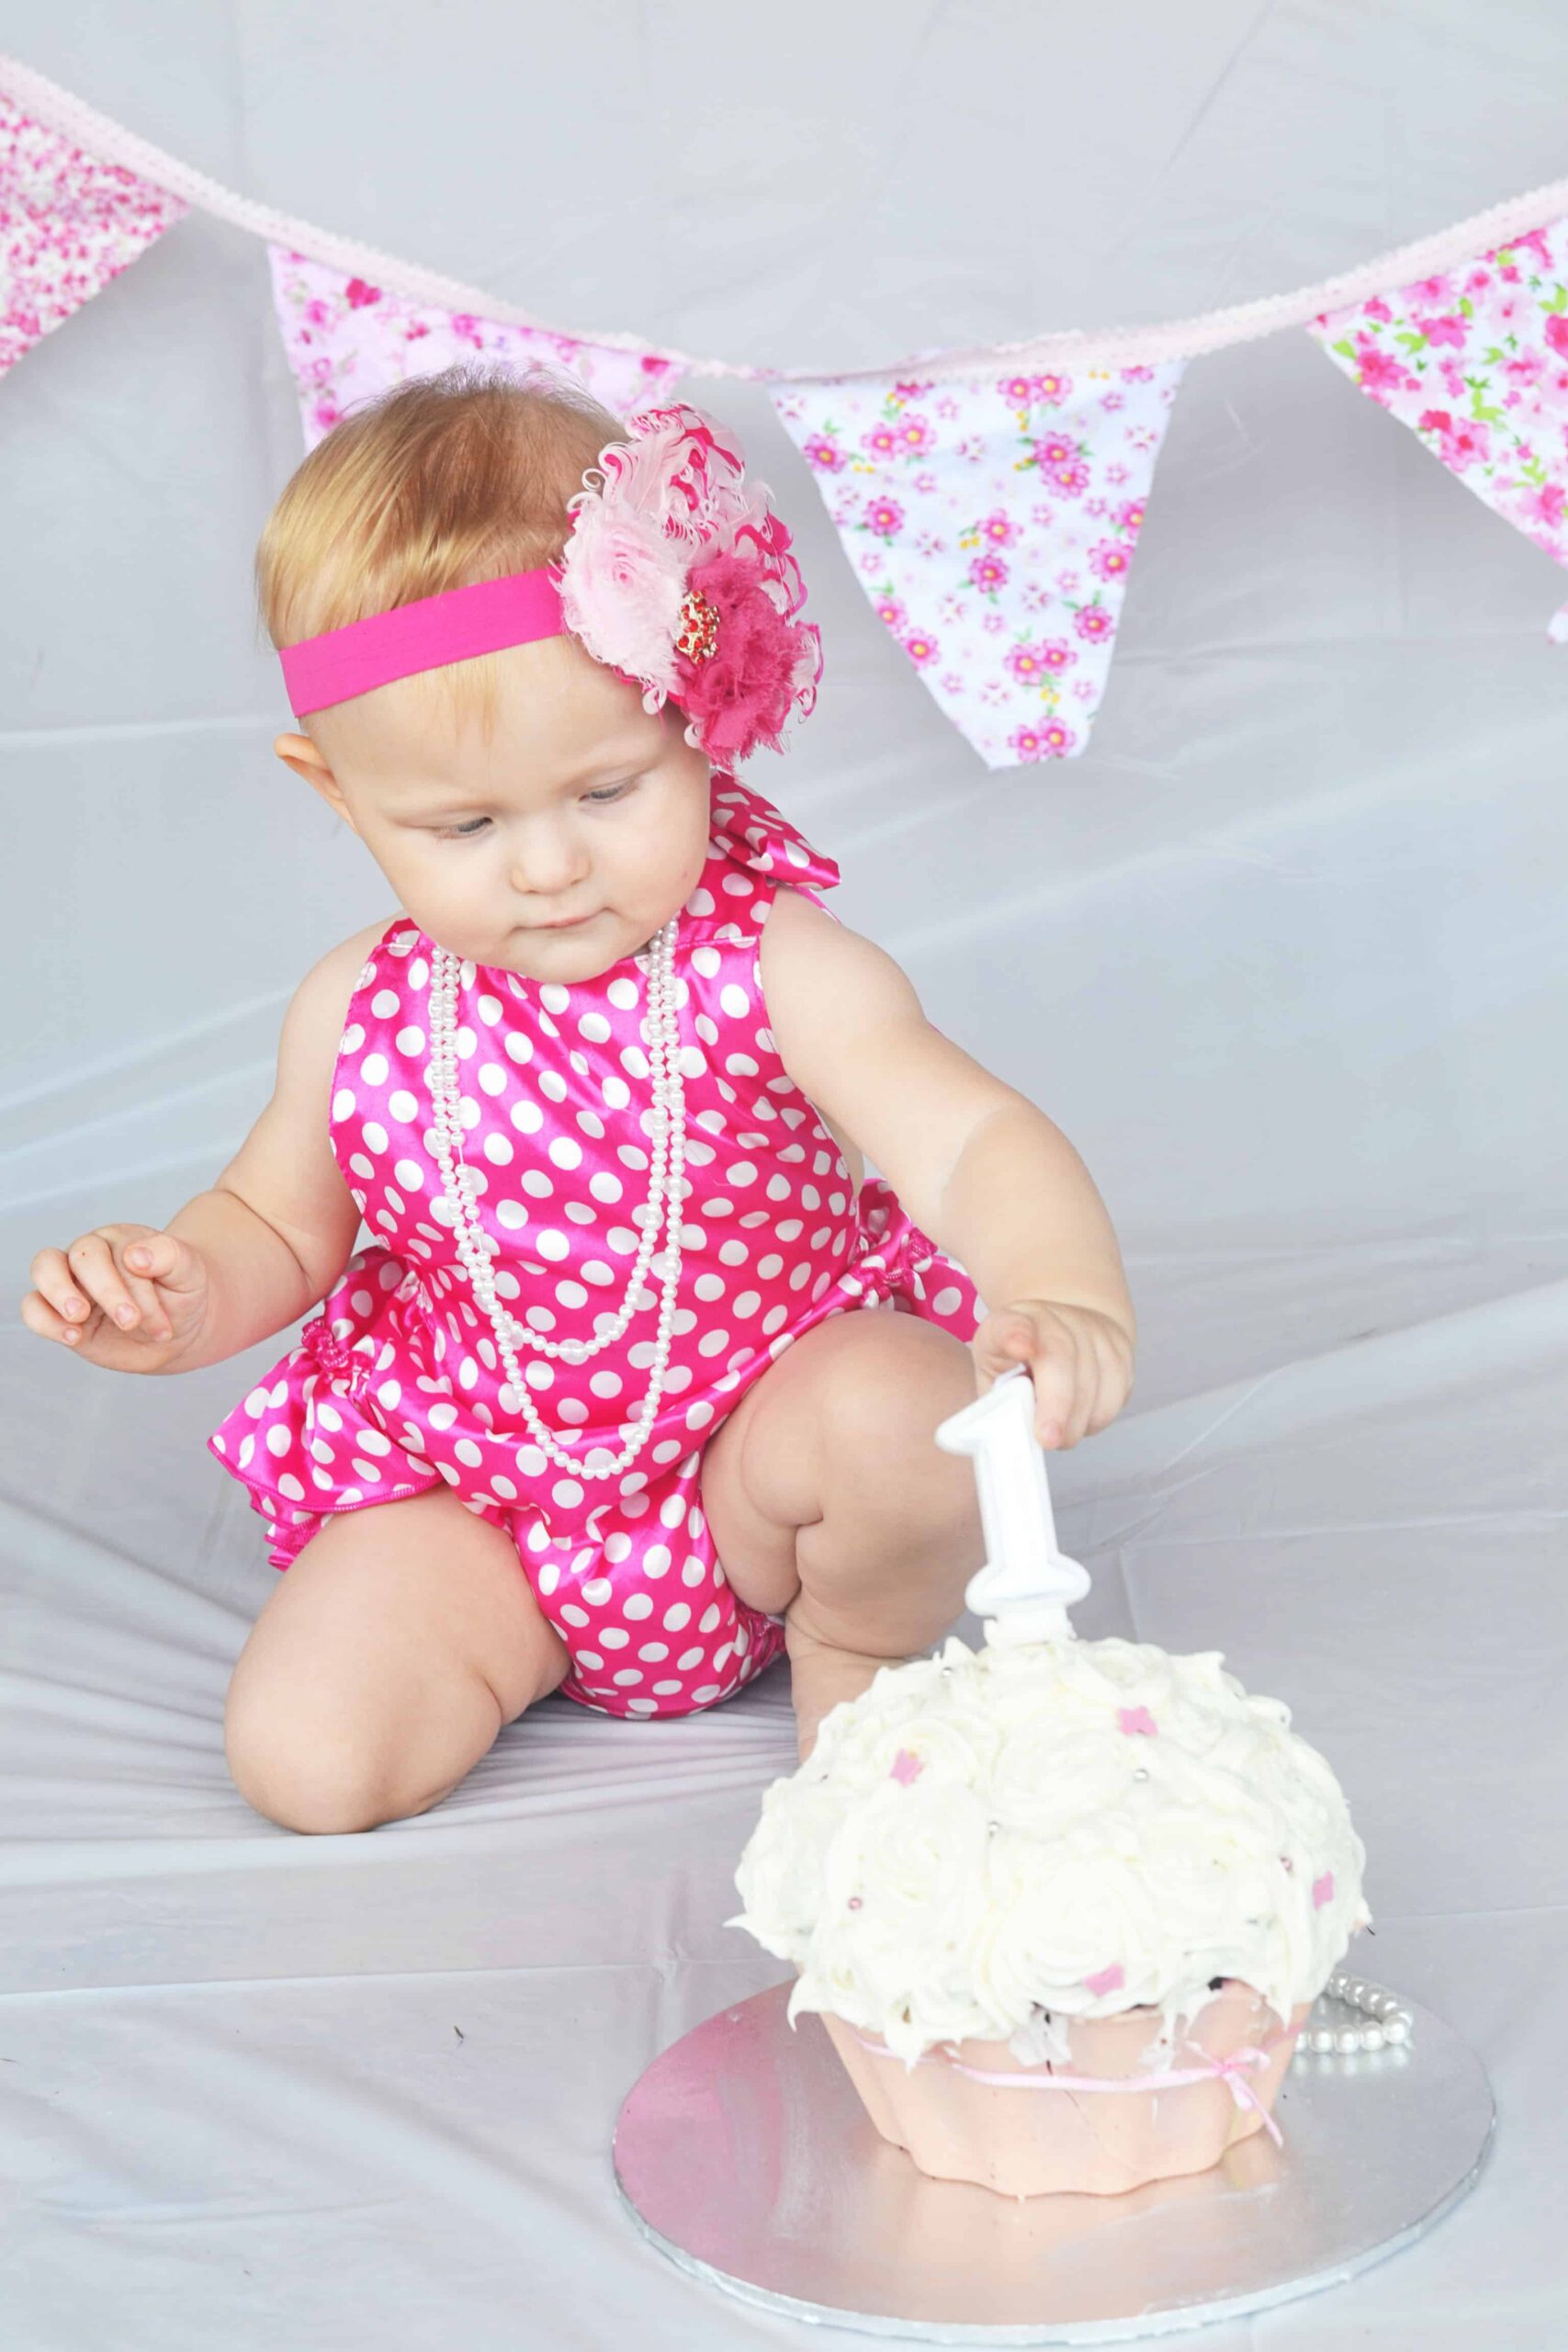
And of course the ever popular first birthday smash cake photo session. No need to pay someone to do it for you. This was done in our patio area outside, with a light pink disposable table cloth used as the backdrop, with a quickly made fabric banner. I made the cake myself too. DIY smash cake photo shoot.. easy!
And Christmas photos - you might want to make your own personalised Christmas cards or just for your own memory keeping. You can see my 2014 Christmas shoot photos too.
And for information on my photo editing process using Photoshop Elements, check out this post.
The one thing I can't help you with is getting the baby into those adorable positions you see in newborn baby photography. Try as I might, I couldn't get my daughter to put her arms in the right place... so there were a few face in mattress moments in my attempt, that resembled tummy time more than anything else. I gave up and just rolled her onto her side... and thankfully it worked!
At least you can save money on baby photography by taking your own baby photos at home and if you are really lucky, you may even know someone who is great with a camera to take family photos for you too. Fingers crossed!
Do you get regular family portraits done?
No comments:
Post a Comment